Downhill Mountain Biking Gears: A Guide

Interesting Facts About Different Types Of Mountain Biking
December 10, 2020
How Can Cyclist Take Dental Care: Tips By 4 Squares Dentistry
April 17, 2021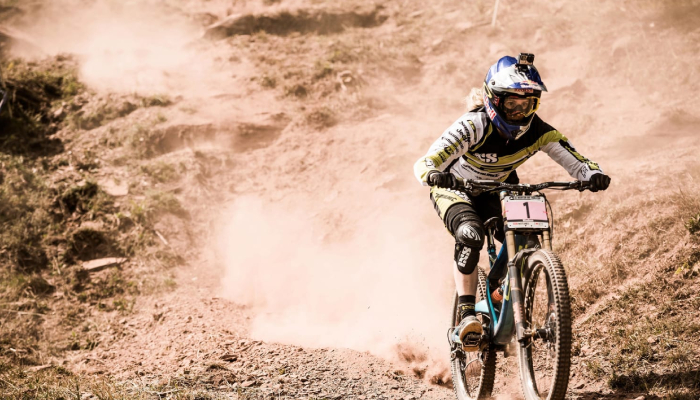
Equipment Required for Downhill Biking
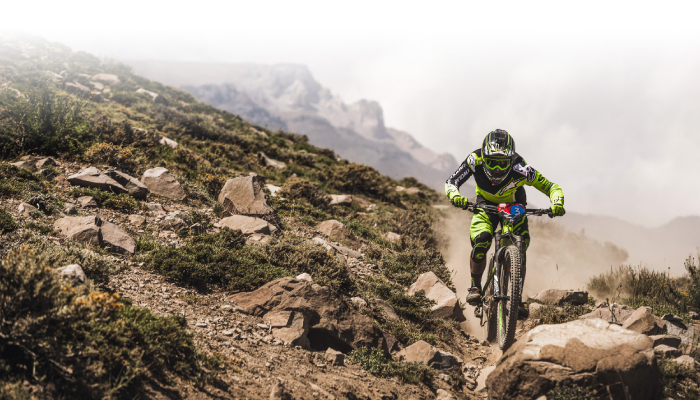
Most of us have missed the chance, at least once in our lifetime, to pursue something different and incredible. Maybe we were asked for the first time by a buddy to go for a hike or try a hand in surfing. Downhill mountain biking is an experience that shouldn’t be missed. The terrain is becoming more popular, equipment is becoming more economical, modern bike parks are intended to match every skill level and experienced coaches are designed to meet every skill level.
Consider this as your training guide if you’ve ever decided to try downhill mountain biking. There are a few preparations before you can get on your bike, which will significantly impact your first experience of downhill biking. To support, we compiled a checklist:
- Helmet for a Full Face
It should feel light and relaxed, and it should not disrupt your eyes to see. The helmet of your friend (or anyone else’s) is likely to be the best match for you, so borrow one if you have to and the experience would be so much easier.
- Flat Shoes with Soles
Drop the running shoes at home, with elevated feet. The safest choice is bike shoes. Skateboard shoes are a decent alternative. They are perfect counterparts to flat MTB pedals owing to the flat outsole and grippy tread style.
- Goggles/Sunglasses
They cover your eyes/face from the dirt and dust that gets kicked up as you fly. You can also use the ones you ski with in some ways. Just ensure you have a mirror for the sun you’re going to be riding in, and maybe carry a crappy pair as the dirt and the occasional pebble will strike them.
- Biking Wear
The average downhill rider wears a jersey and loose freeride bike shorts. Choose any durability gear that is comfortable and can match any protection you wear. Cover yourself with elbow pads and knee pads under whatever you wear, remember that a lot of new women’s safety clothing is in place, and most women’s-specific pads are in the rental shops.
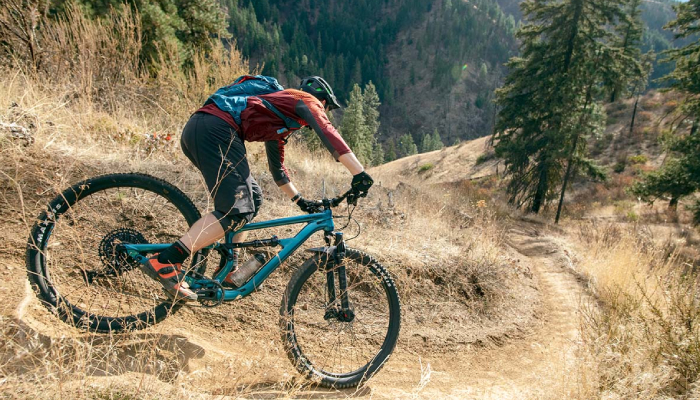
- Bike That Meets Your Expectations and Abilities
You’re going to choose to drive a full-suspension bike, one with a minimum of 6 inches of front and rear suspension to help out the bounces on rocky paths. Hire a bike if you don’t have your own and inquire about the renting technician to change the shock to your body mass and skills.
What to Anticipate and Endure the First Trail Downhill
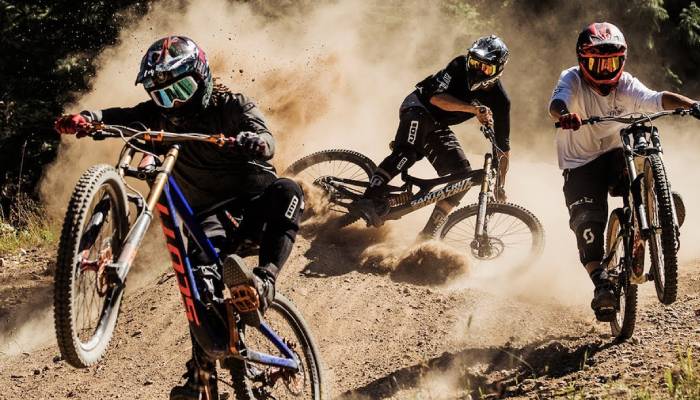
Bike parks—also known as Gravity Parks—have the same black, green, and blue paint scores for the paths as the ski resorts do. Green trails are for newcomers and enable riders to move down the slope at a low pace. Bike park trail protocol is also somewhat close to skiing: stay on track, be able to prevent obstacles and other riders, and note that riders in front of you have the right to the road. Riders can come up behind you as a novice. If anyone needs to overtake you, he or she will say so and either overtake you on a broader portion of the trail or wait for you to find a spot to pull off. It’s less likely to occur on a green trail, but if you’re on a more challenging trail, expect quicker riders to come in faster behind you. Riding in a bike park is about developing your skills, abilities and having fun—and it’s an extremely welcoming community to be part of.
With new bike parks serving more and more advanced and beginner cyclists in comparison to the nearby cross-country channel, they have a specific beginner track that’s smooth as a sidewalk, free from rocks and trees, lined with gentle curves and quite mild rollers. Drive the same path a couple of times. You’re going to advance and finally, you’re going to find it’s not nearly as tough as you thought. You’re going to ride with more balance and courage and begin to look at the terrain differently. Ride with power, grace, and efficiency. Your bike is meant to feel like a part of your body.
How to Place Your Bike on the Ski Tow
- Release Your Hands – When you walk up to the elevator, put on your helmet, put on your backpack while you’re loading your bike.
- Give Space to the Elbow – Each carrier suits all three of the bikes. When you’re loading your bike, stand on whichever side of your bike offers the rider the most space in the center. It’s going to be better if you’re loading the bike on the side that the carrier is shifting.
- Secure the Front Wheel and Fix It – When the ski tow comes up, walk behind it and drive the bike around the deck until the front tire lies firmly in the holster. Pull up the back tire and align it.